Demolition for Renovation: Preparing Concrete Surfaces for Upgrades and Additions
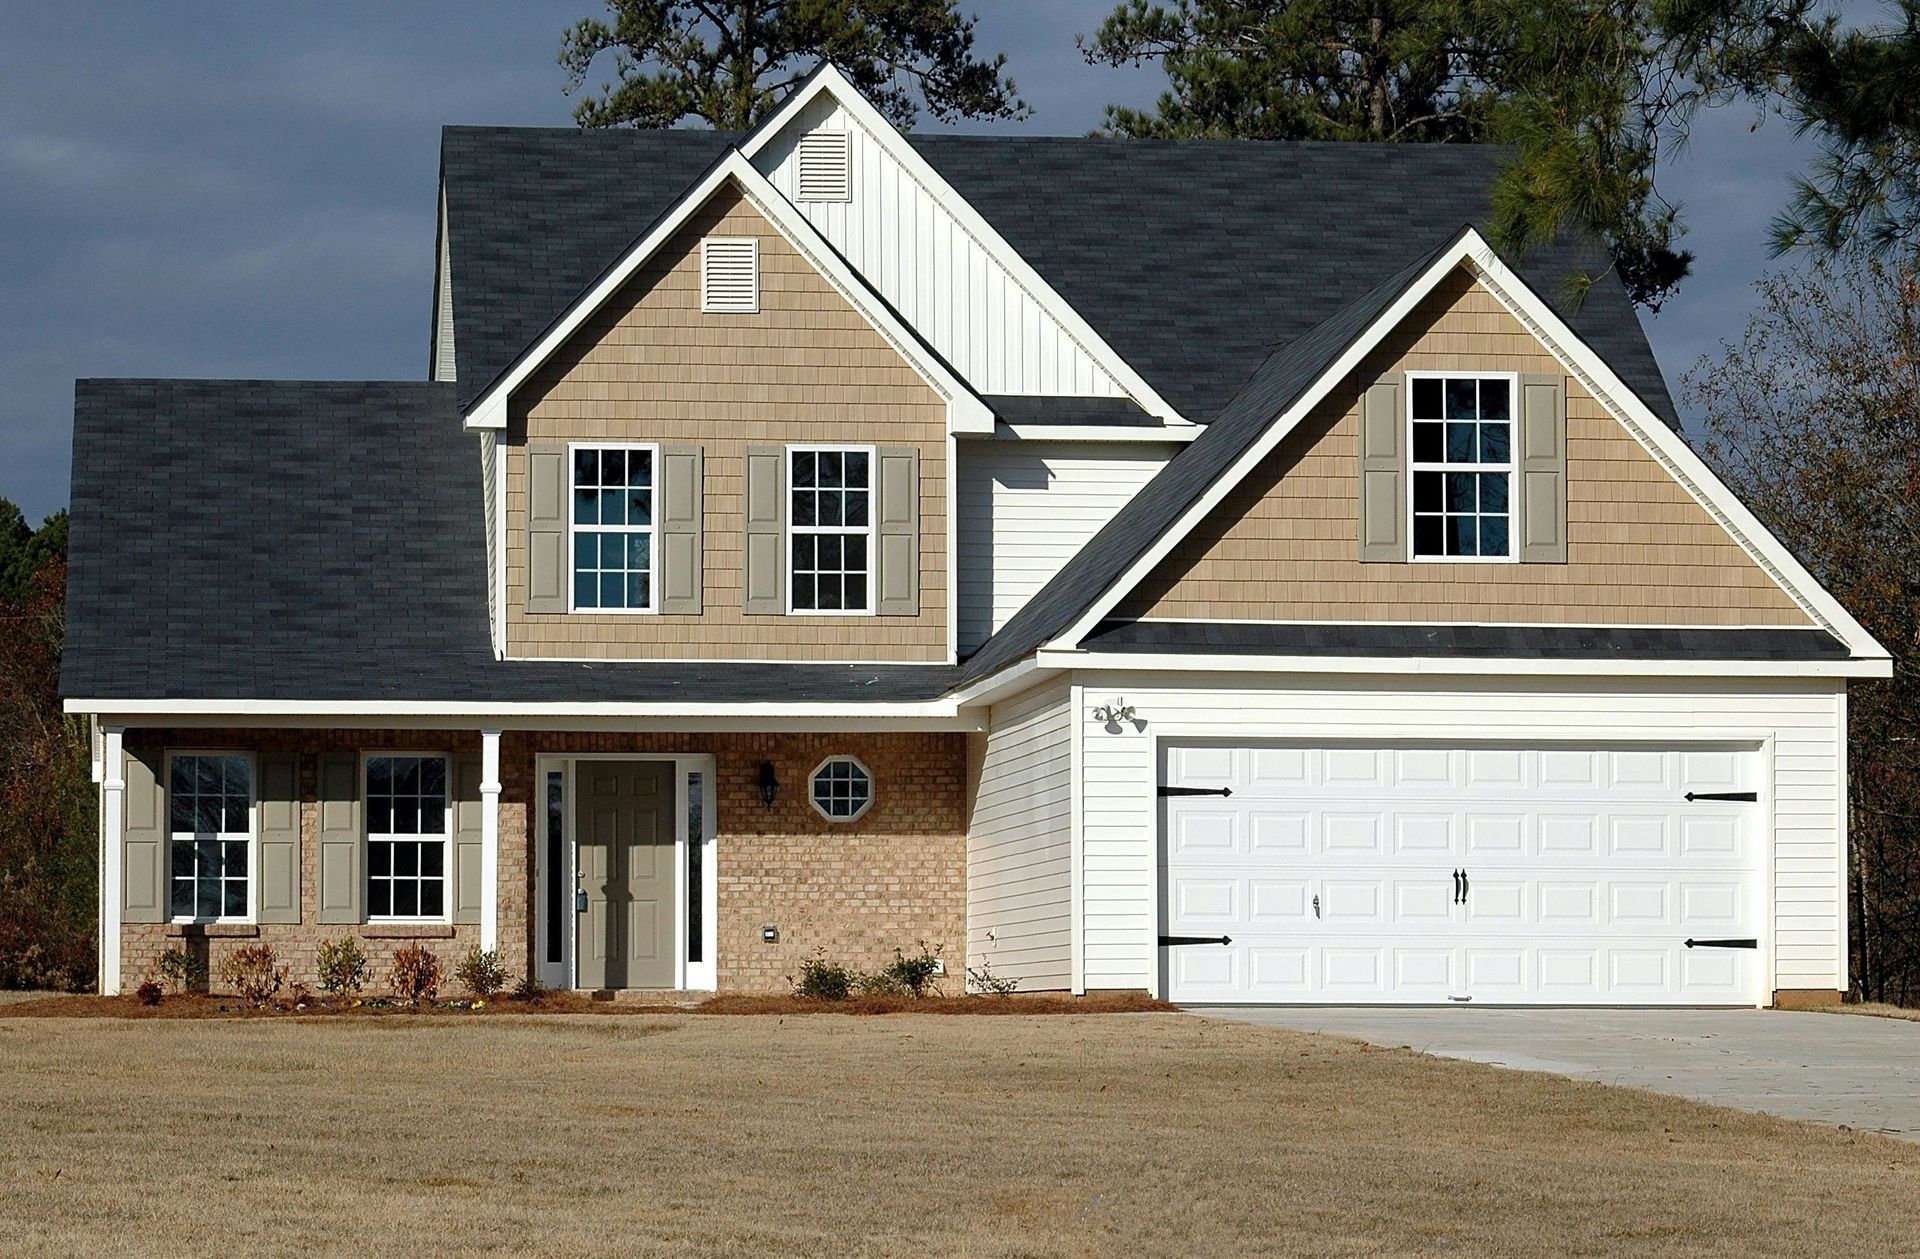
Have you ever just looked around your home or office space and tell yourself “This space sure needs a makeover.” Time comes when we just simply get tired of how our homes or offices look. Renovating old spaces to breathe new life into them is a noble endeavor. Whether you're aiming to make your home cozier, your business more appealing, or simply want to upgrade an outdated look, the end result can be truly transformative. A common component of many renovation projects is the challenge of dealing with existing concrete surfaces. More often than not, the concrete surface in our home or offices don’t need to be replaced. However, preparing these surfaces properly for any renovation is paramount. Most especially if you’re also doing upgrades and additions. That is why in this blog post, we will discuss why and how you should prepare concrete surfaces for upgrades and additions.
A Guide to Prepare Concrete Surfaces for Upgrades and Additions
To make sure that your renovation goes well, preparing the concrete surfaces of the area where you want to renovate should be done correctly. No one wants to redo their work. It’s a total waste of time and not to mention your money too. Hence, here's your guide to getting it right.
Knowing Why Proper Preparation is Essential
Understanding why it’s important to properly prepare the concrete surface before a renovation helps you to avoid certain problems. Concrete is known for its durability. But with age, environmental stresses, or wear and tear, its surface can become damaged, uneven, or riddled with defects. When you're adding new materials or features to an existing concrete surface, it's critical to ensure that the surface is sound and able to bond with new additions. Without proper prep, you risk the following:
Poor Adhesion: New coatings or overlays may not stick properly, leading to peeling or detachment.- Uneven Finishes: If the underlying concrete is uneven or damaged, your new surface will mirror those flaws.
- Long-term Failures: If not addressed, underlying issues can compromise the integrity of your renovation which in turn will cost you more money.
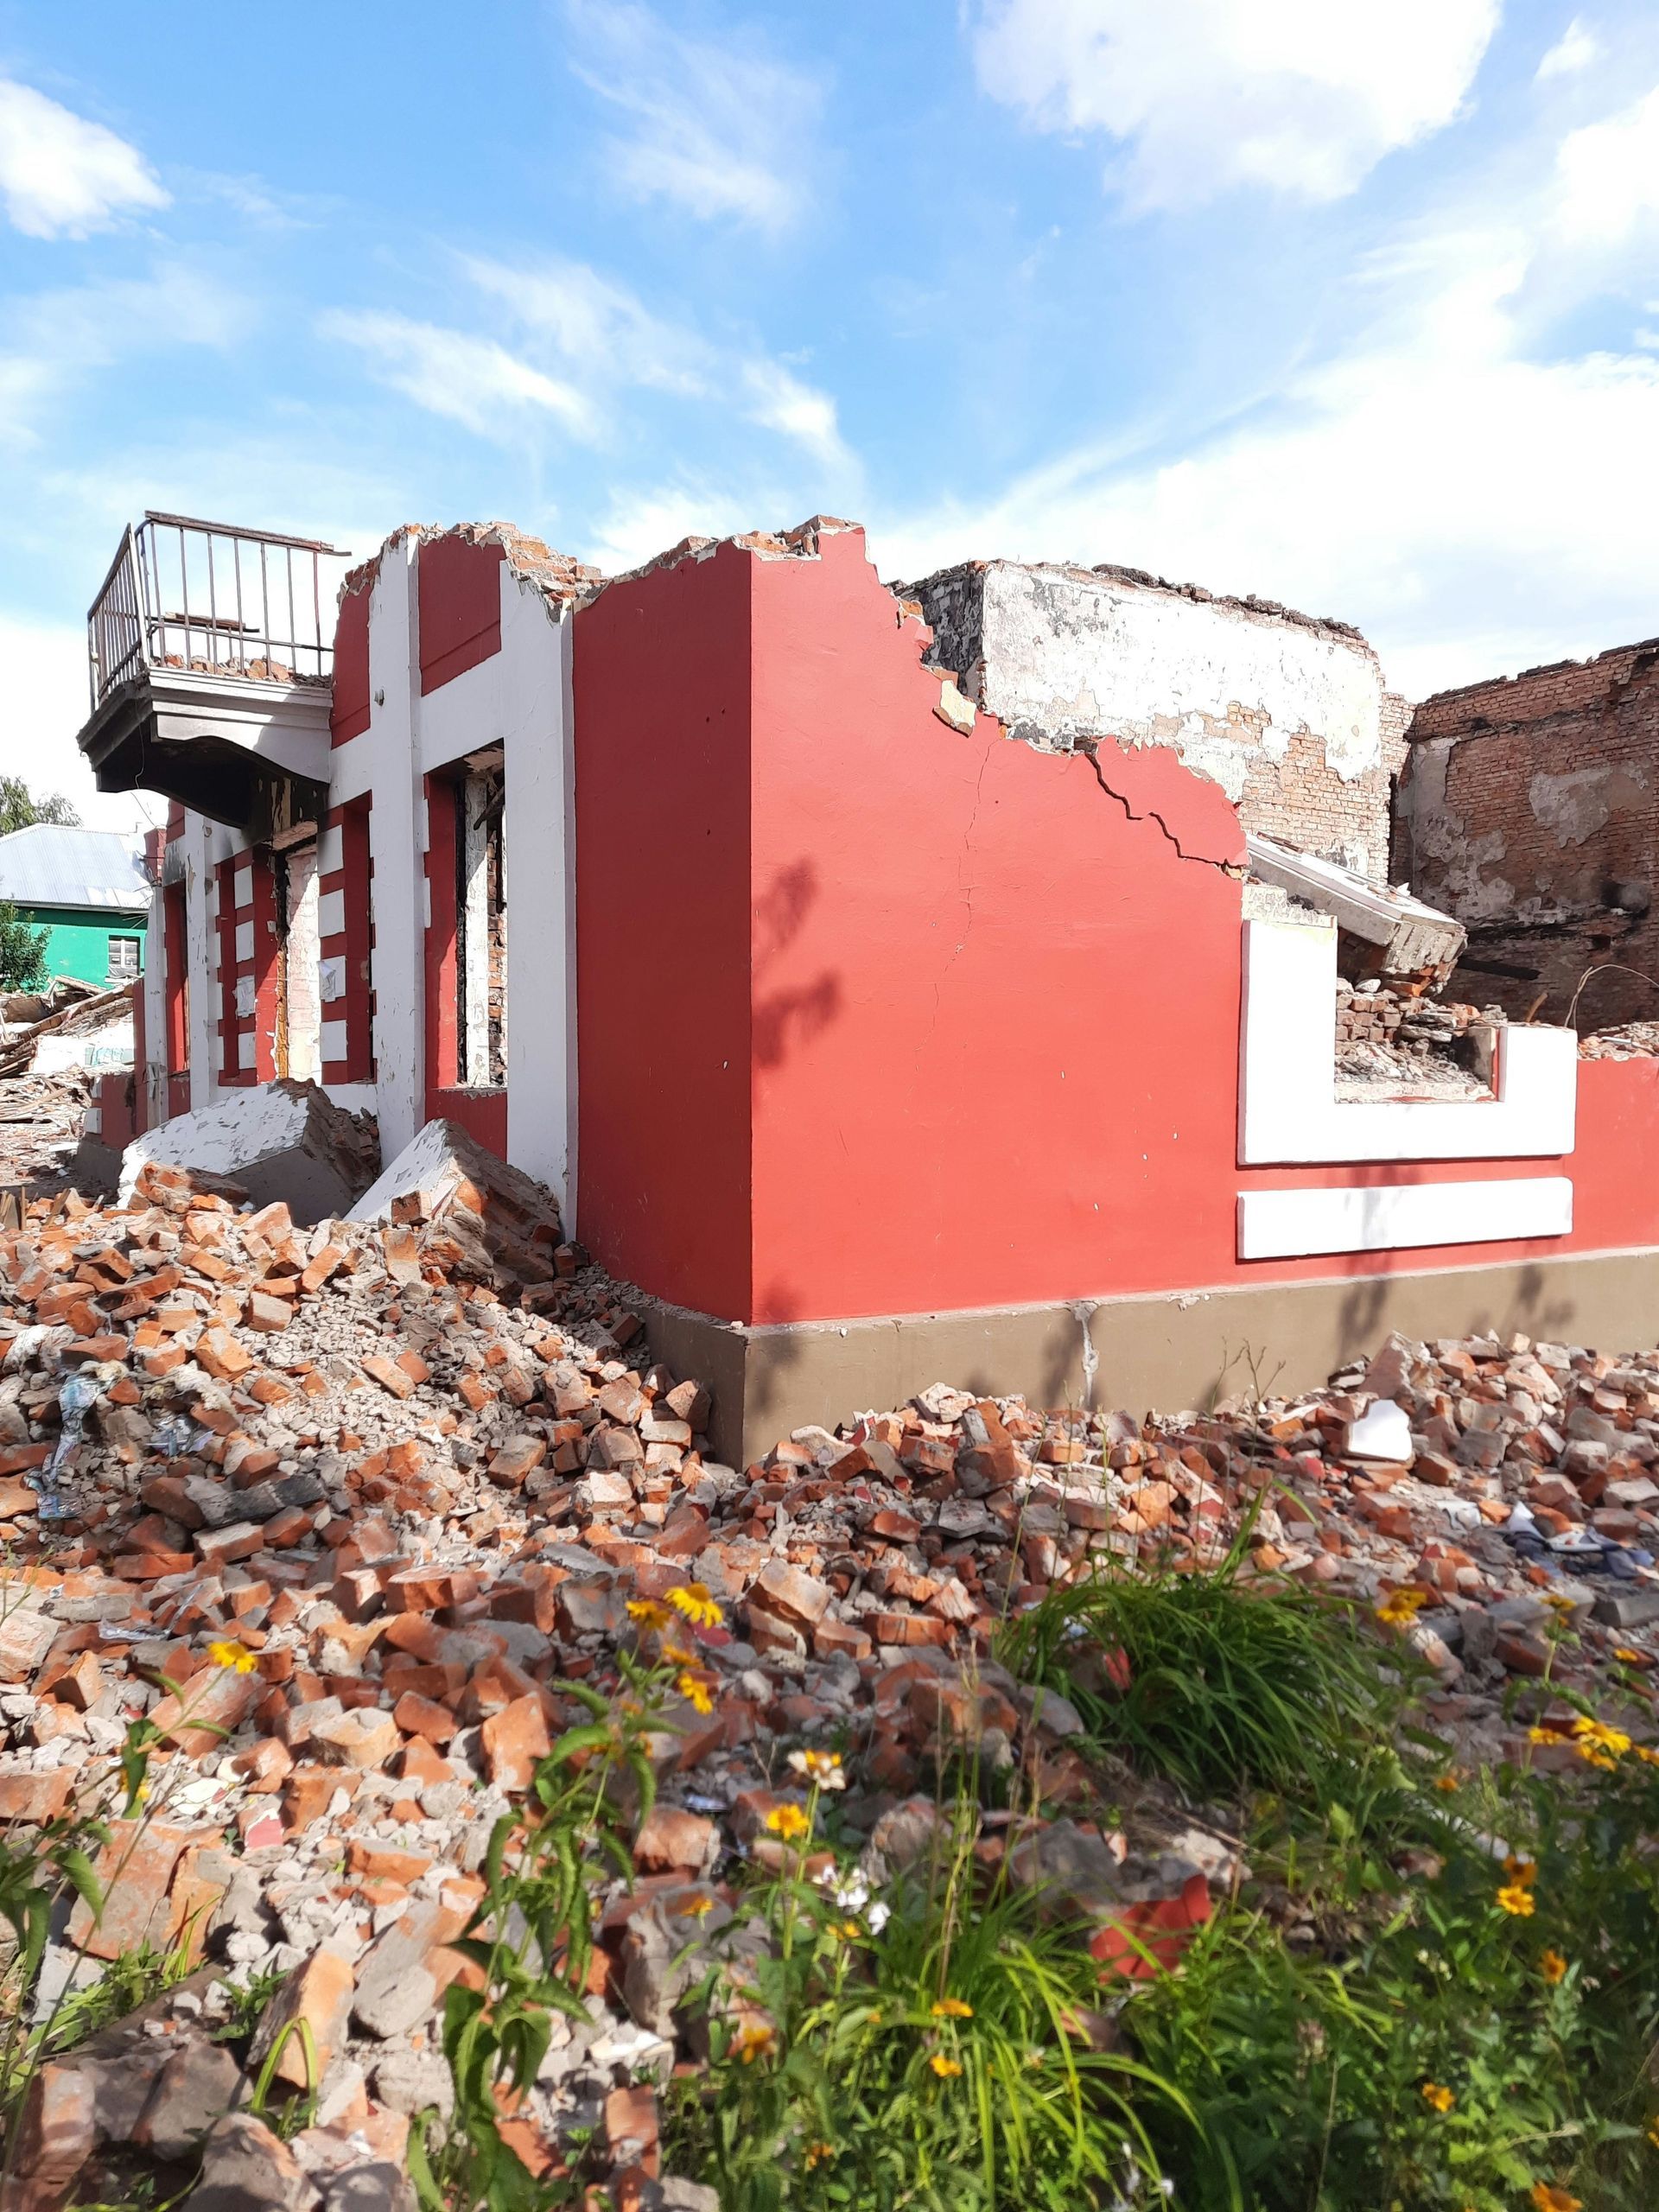
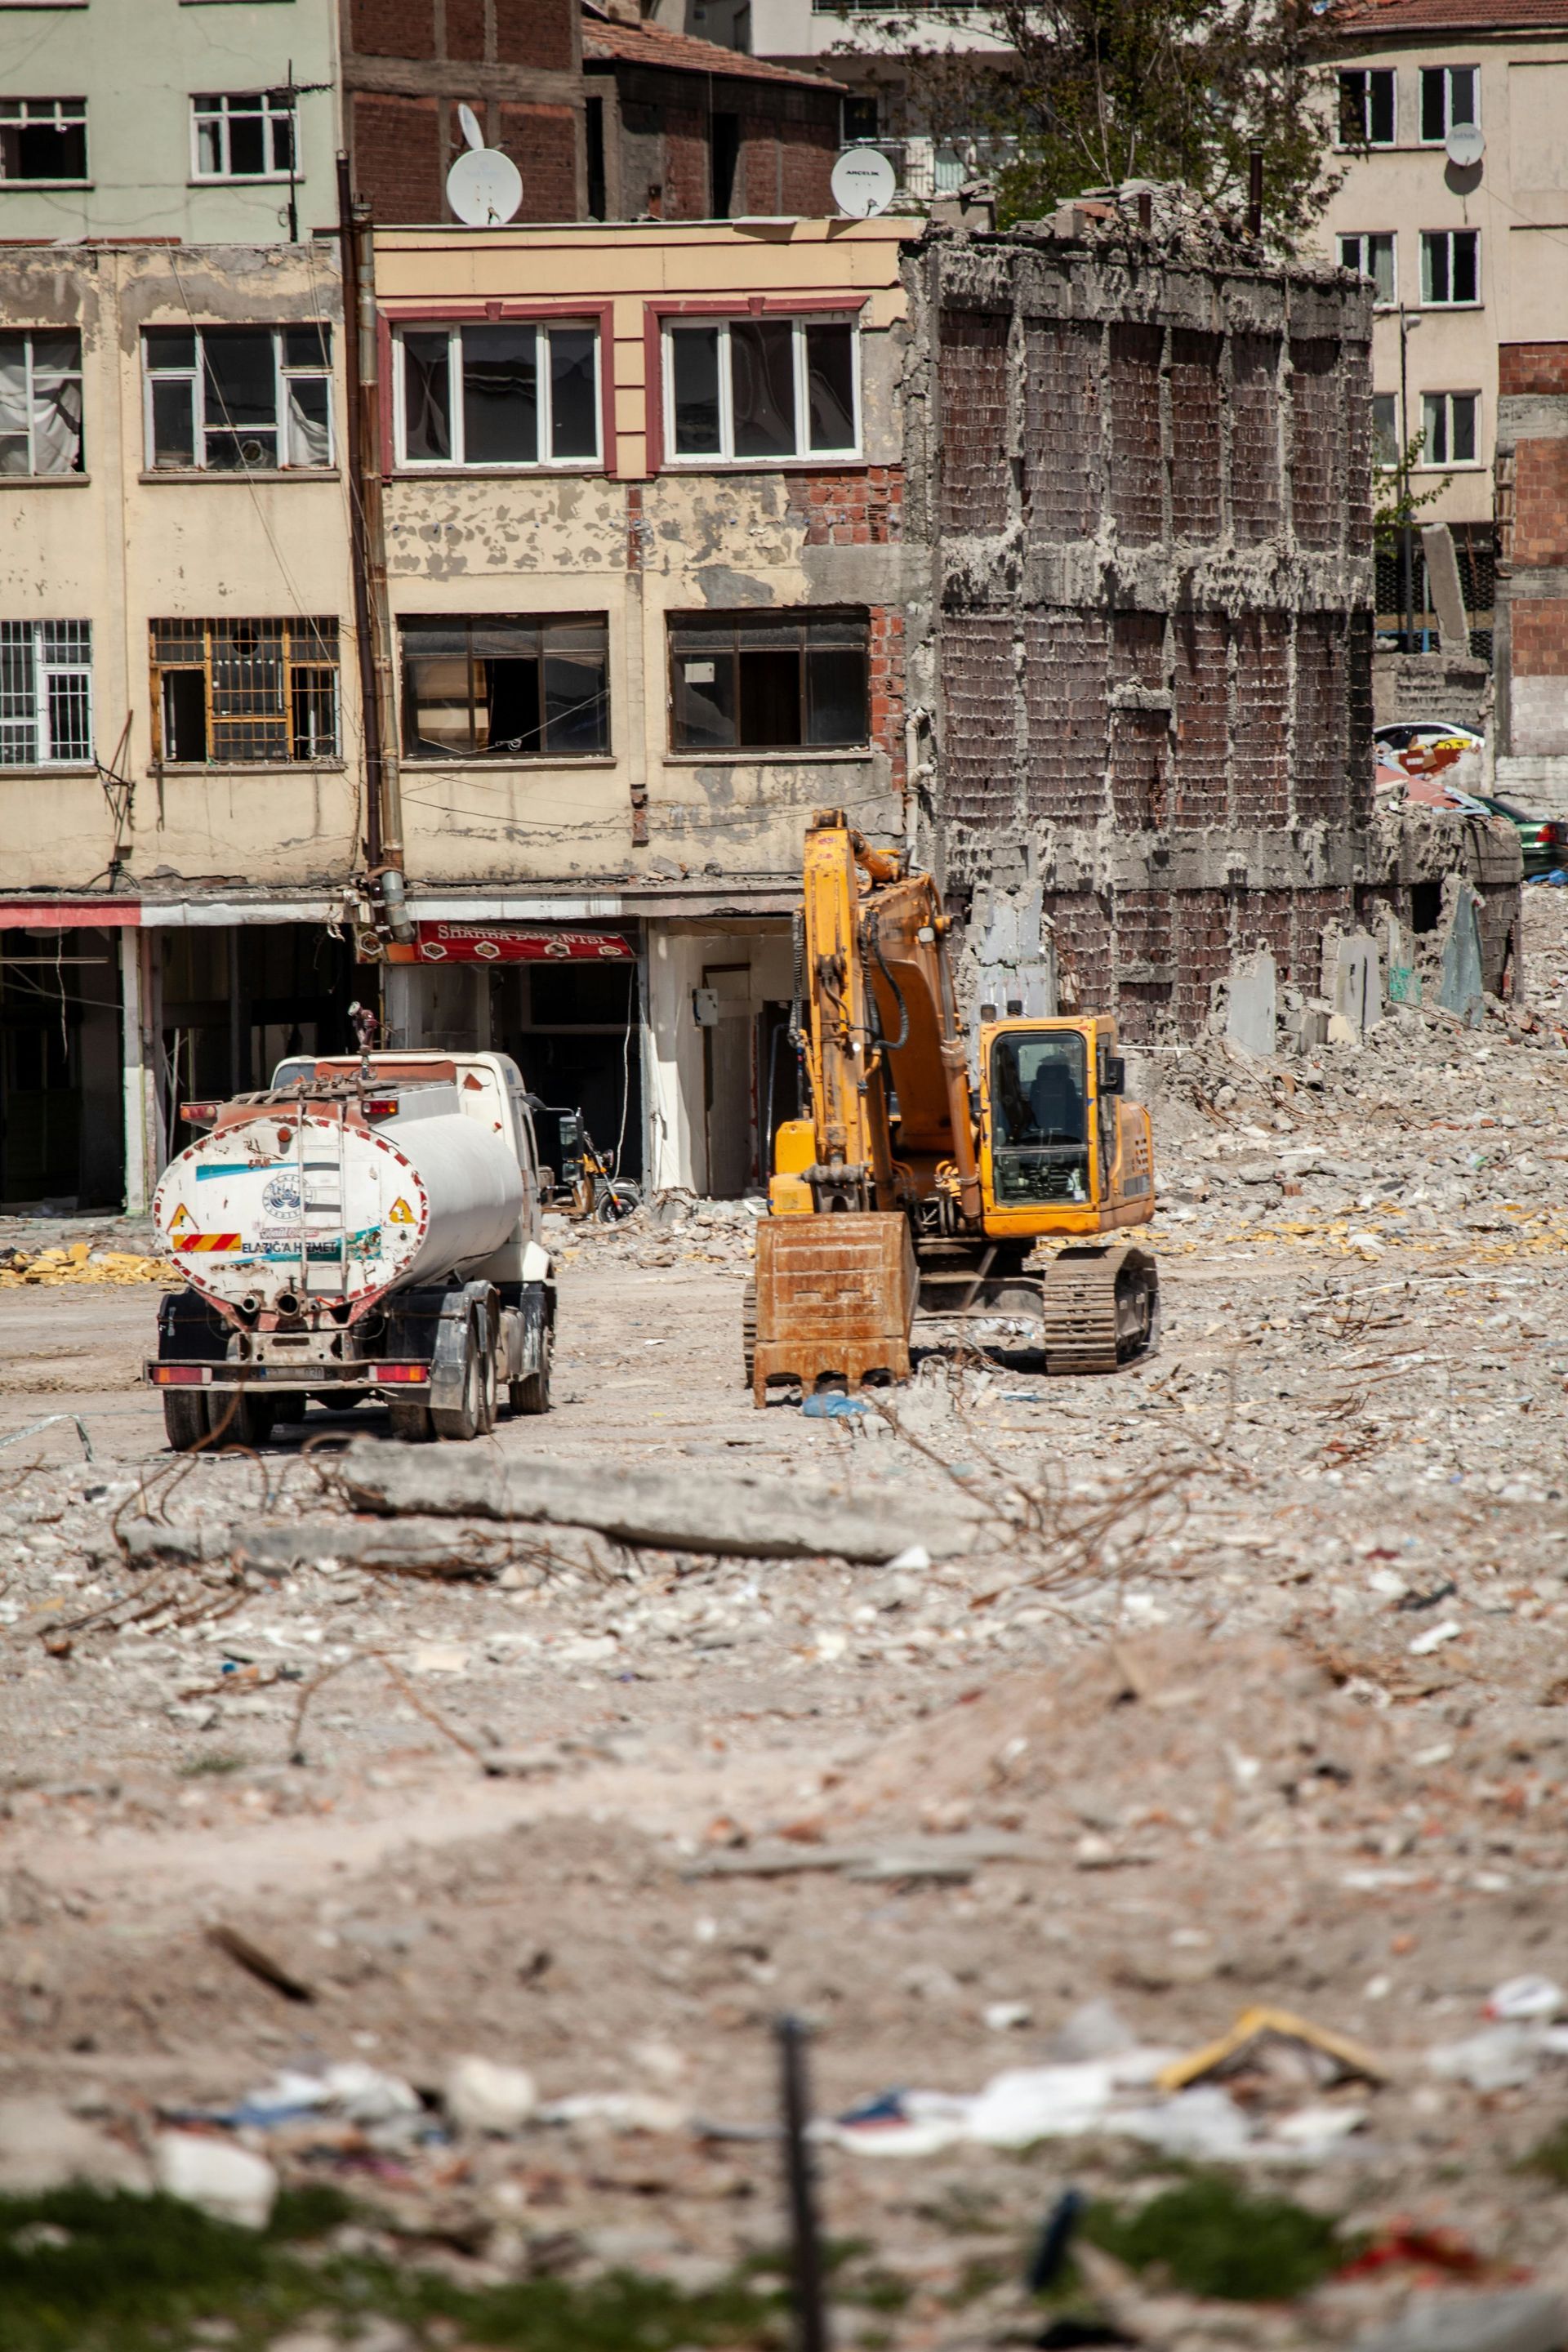
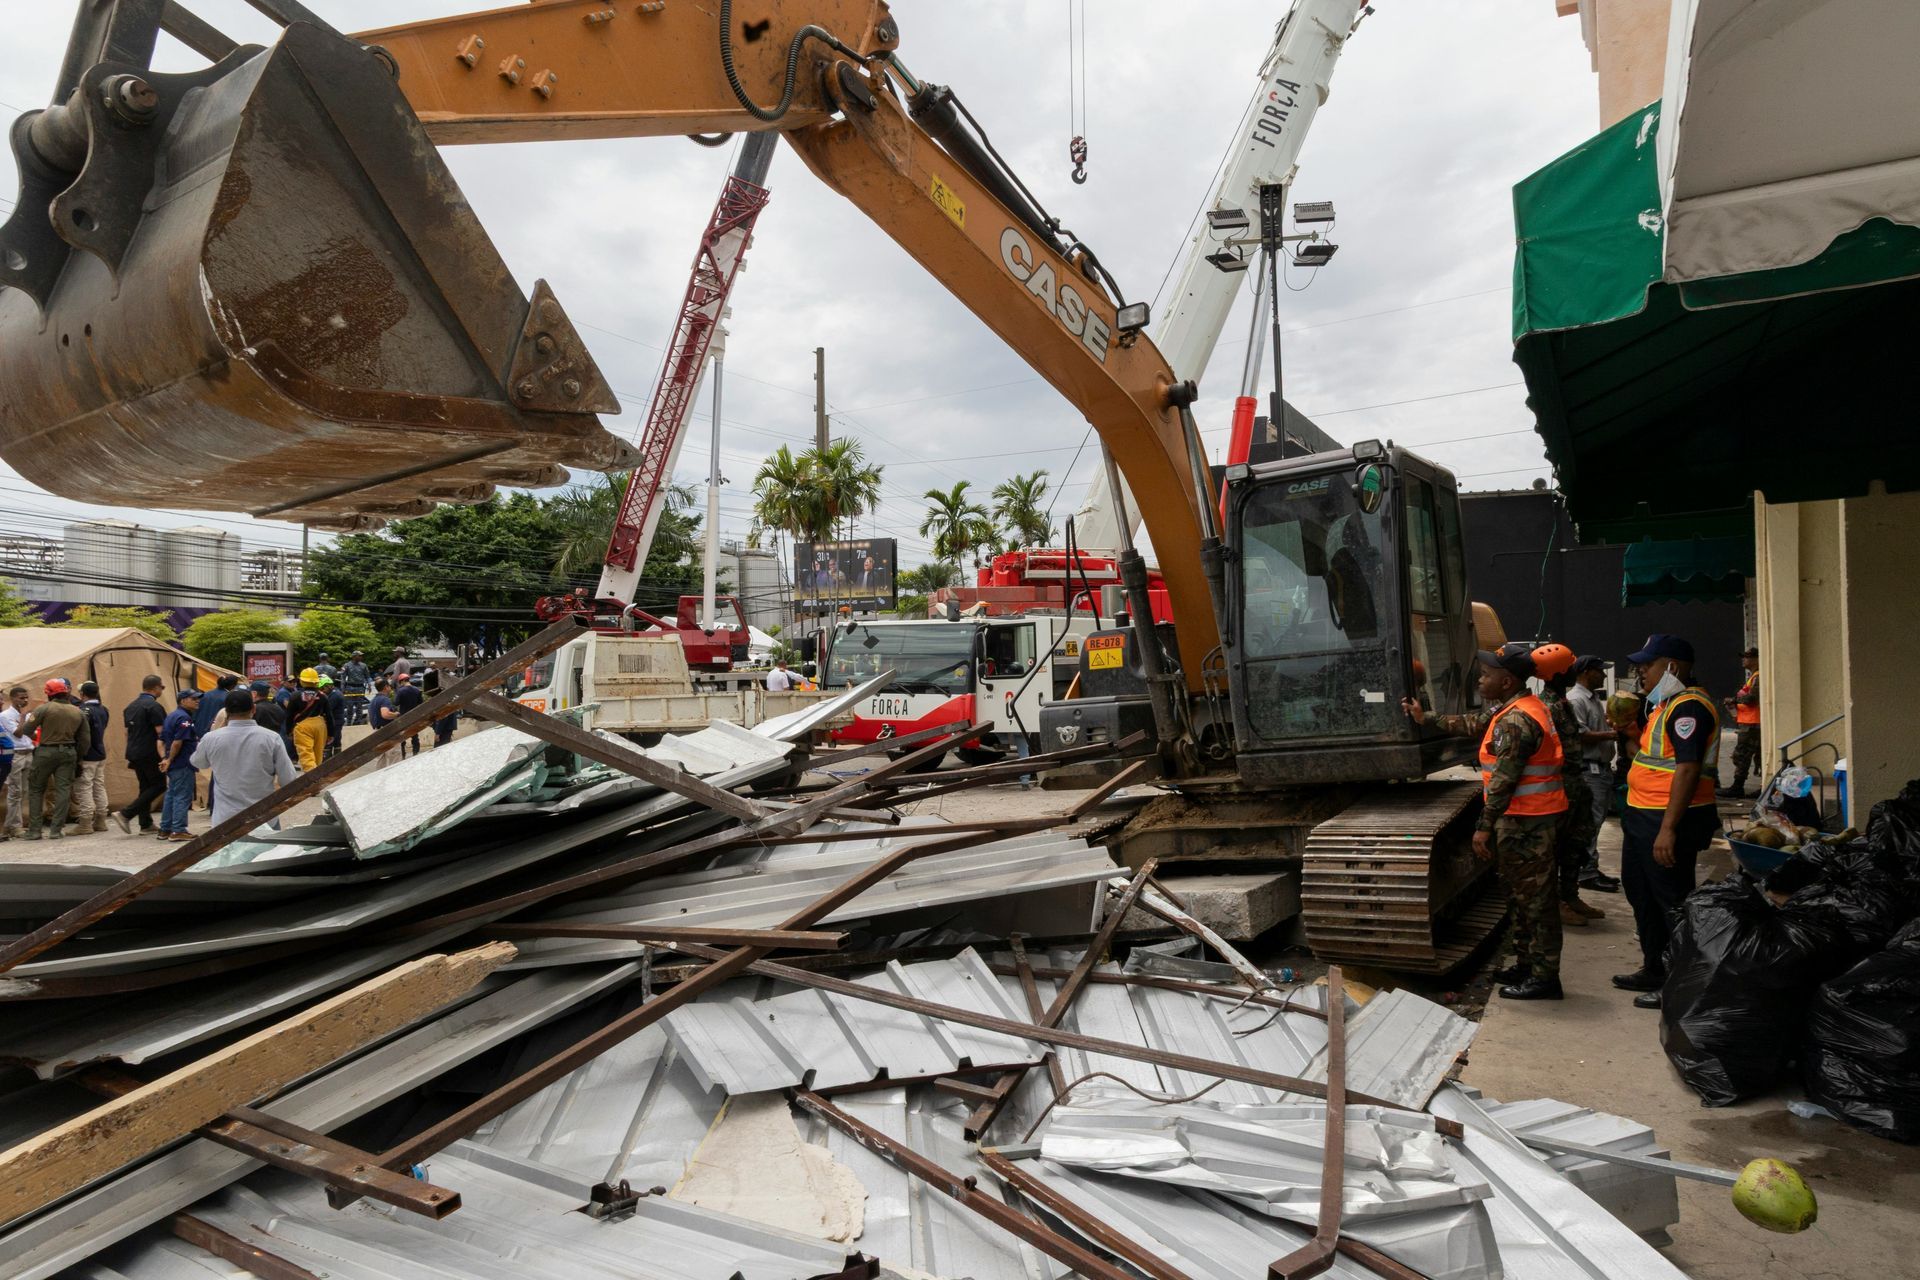
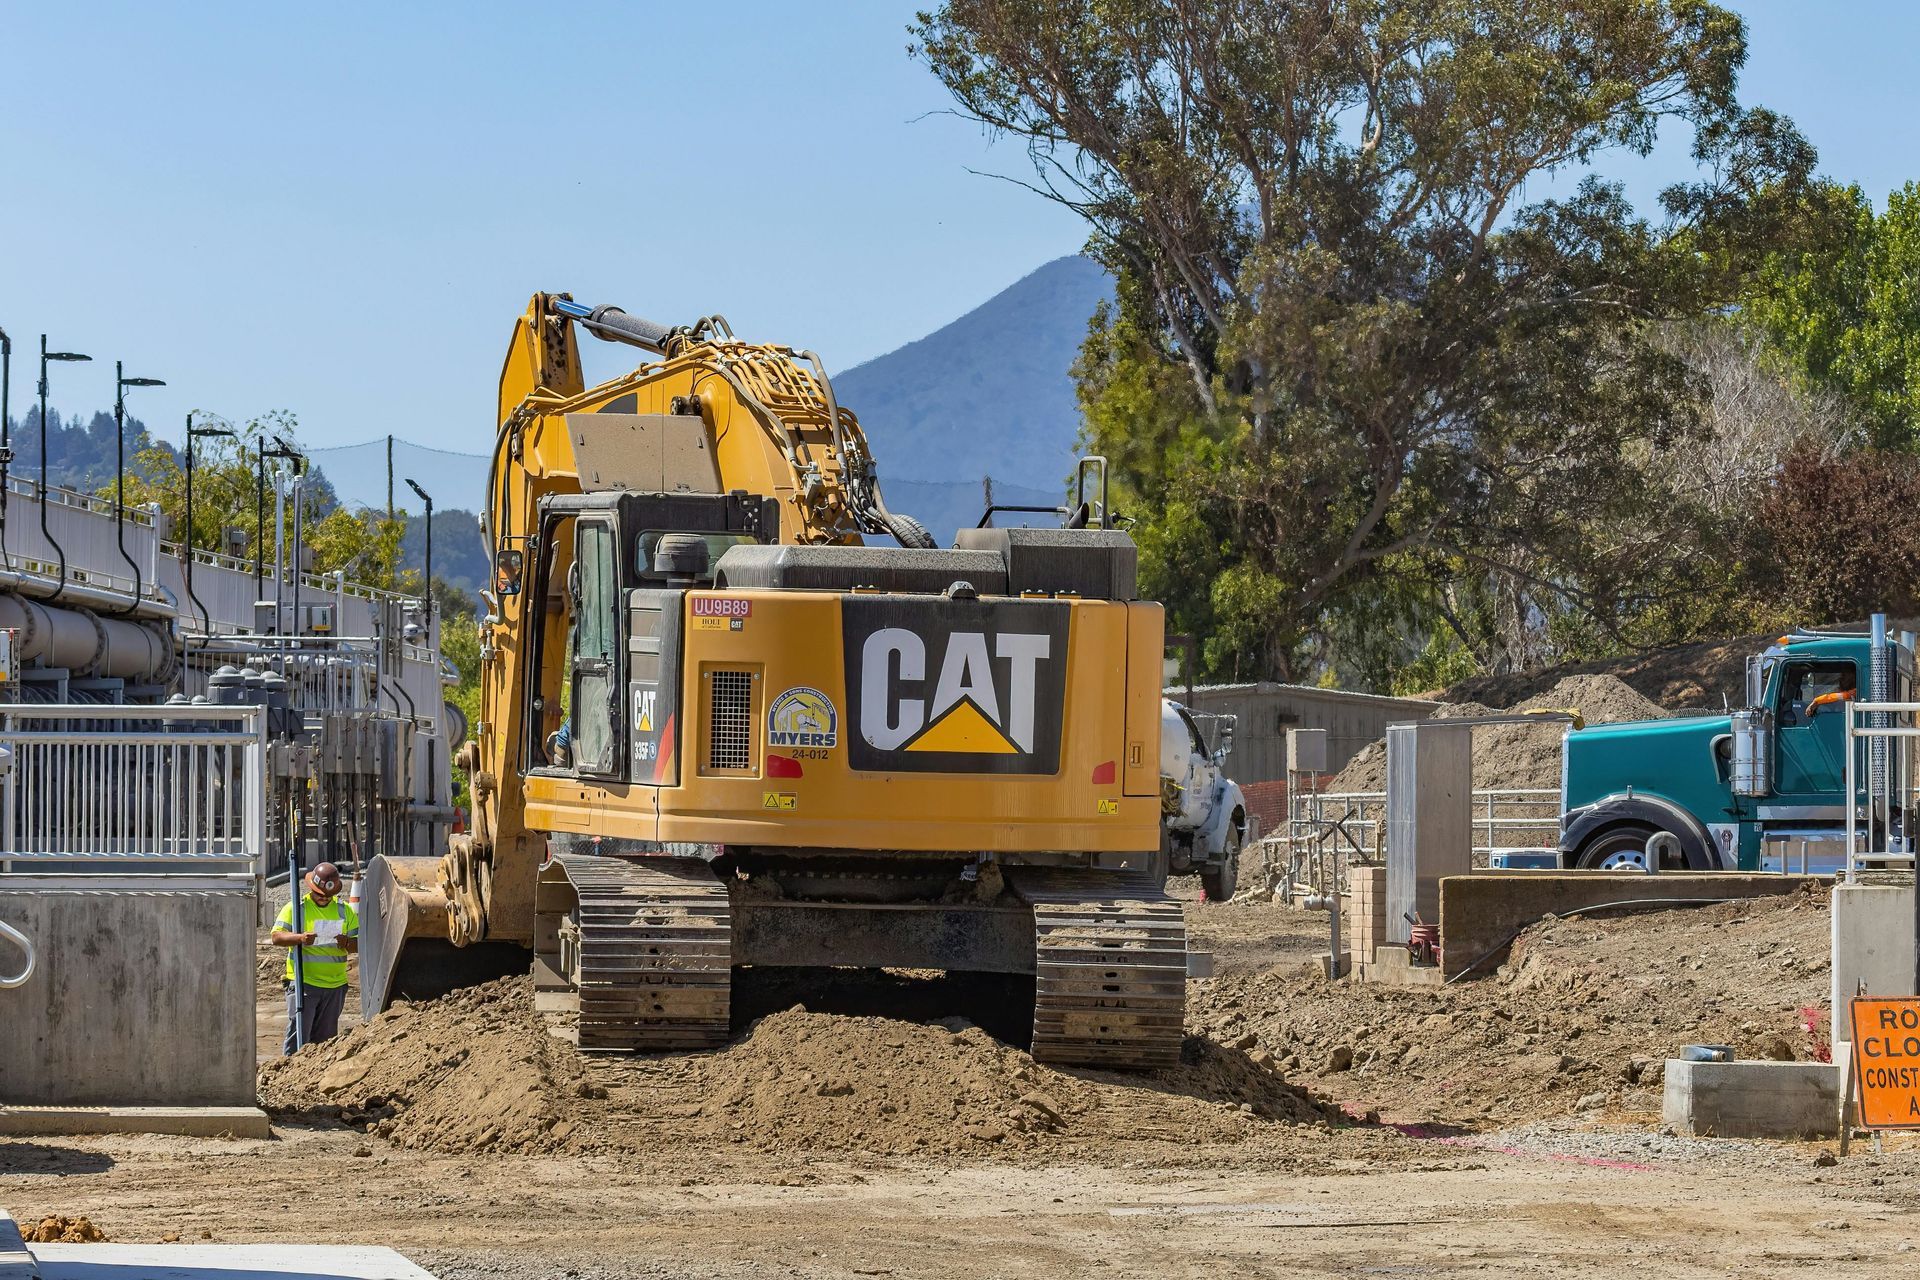
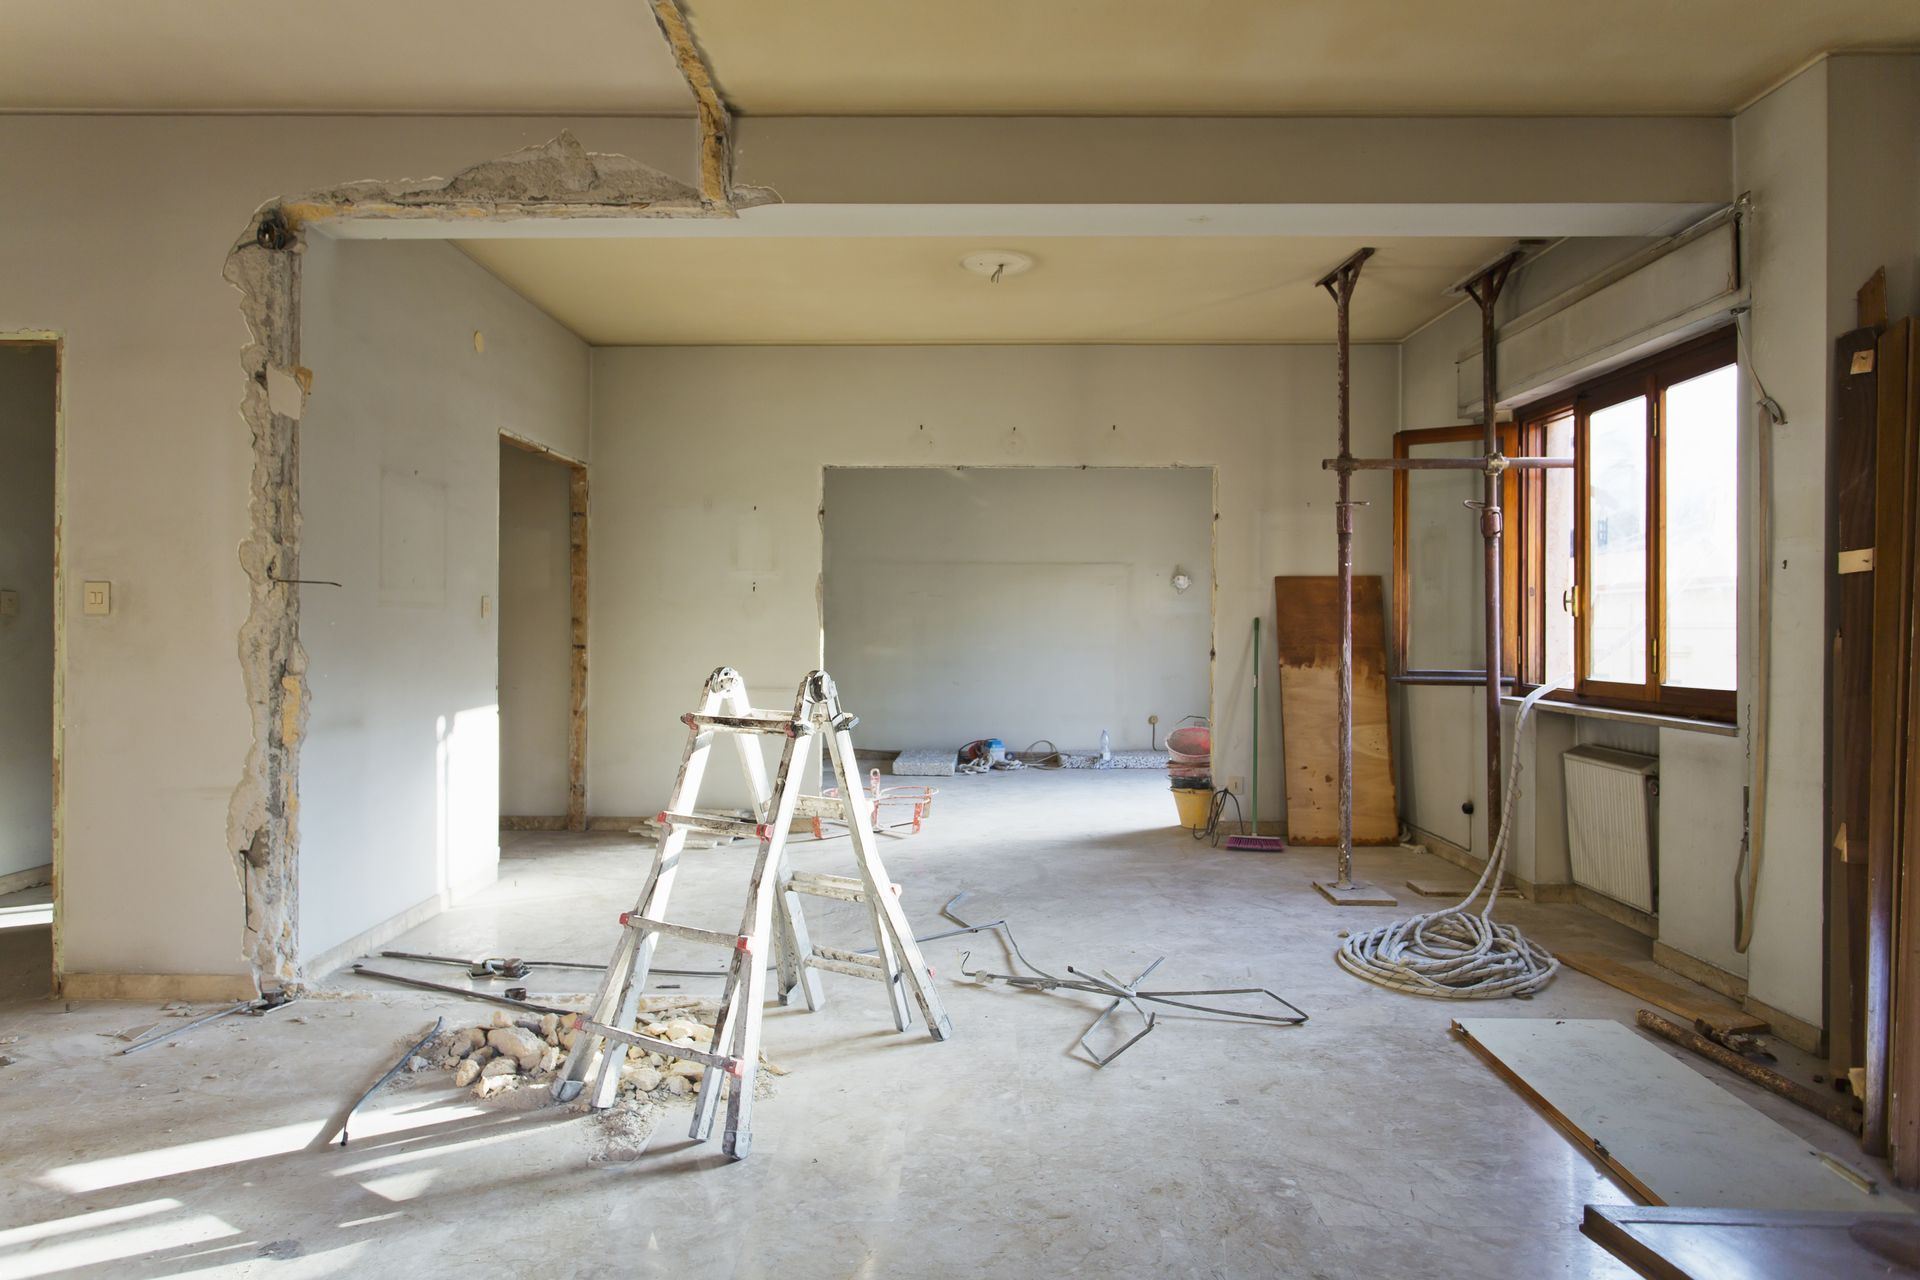
Demolition and Cleanup
Before any refinements can take place, you need to remove the old, damaged, or unwanted concrete. Here's a step-by-step process:
Step 1: Assessment
Start by inspecting the concrete surface. Look for cracks, uneven areas, spalling, or any signs of moisture damage. These areas will need attention during demolition.
Step 2: Safety First
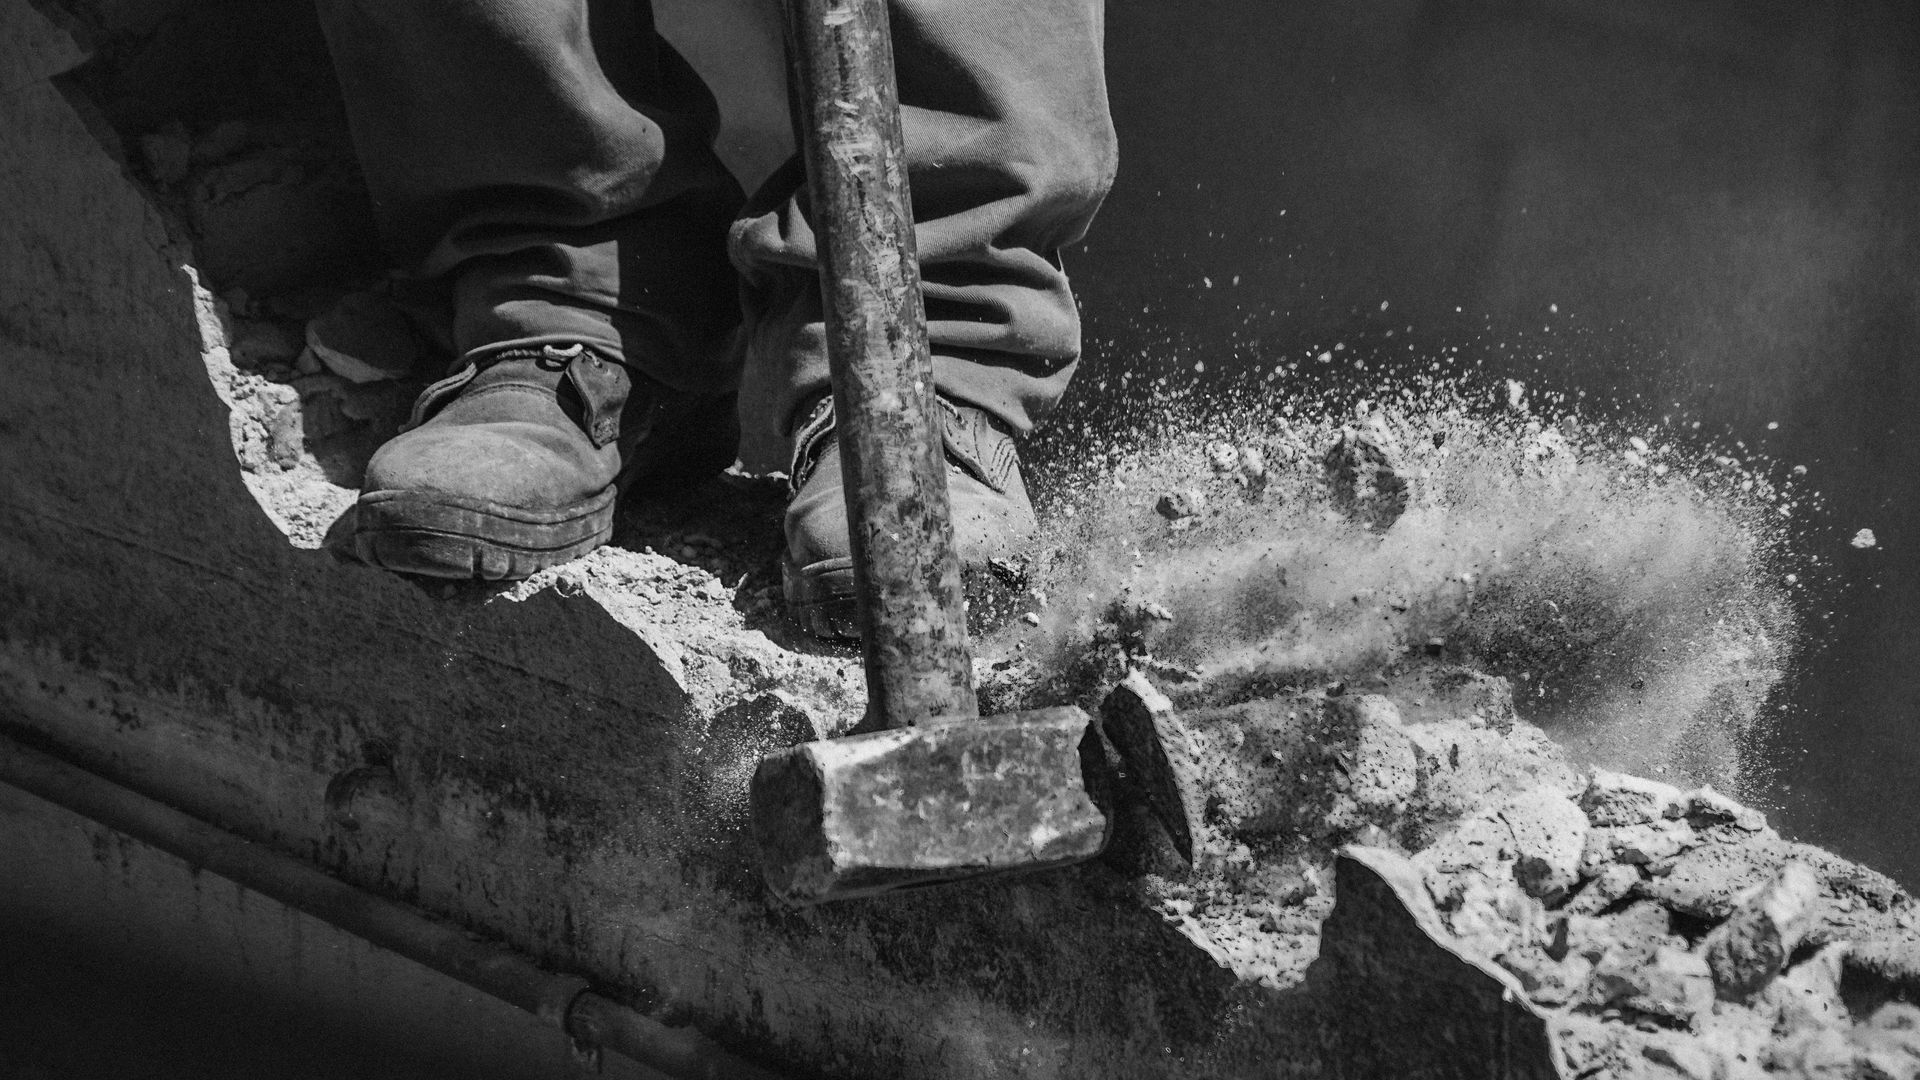
Ensure you have protective gear, including safety goggles, gloves, and dust masks. Concrete dust can be harmful if inhaled.
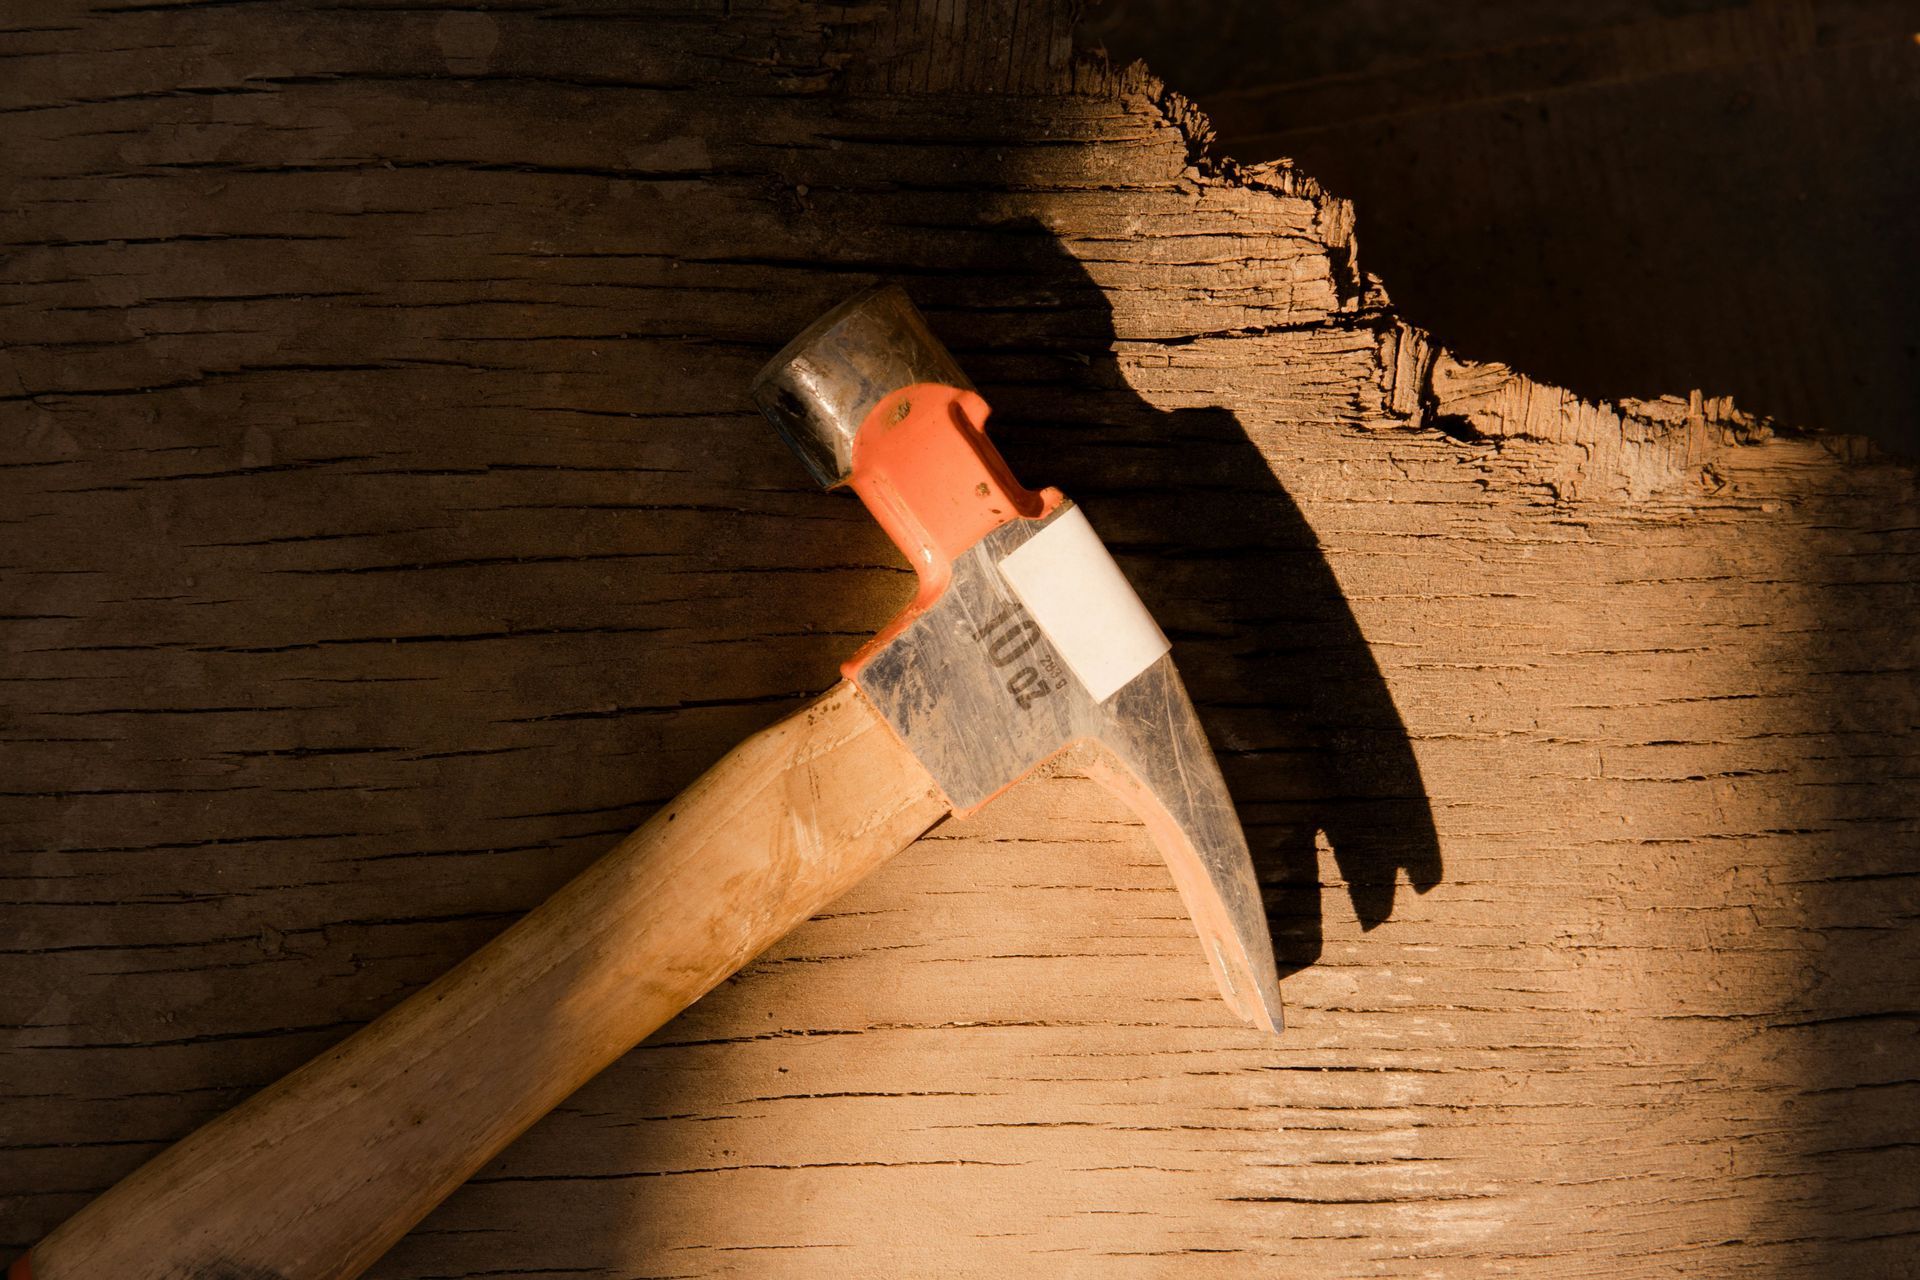
Step 3: Choose the Right Tools
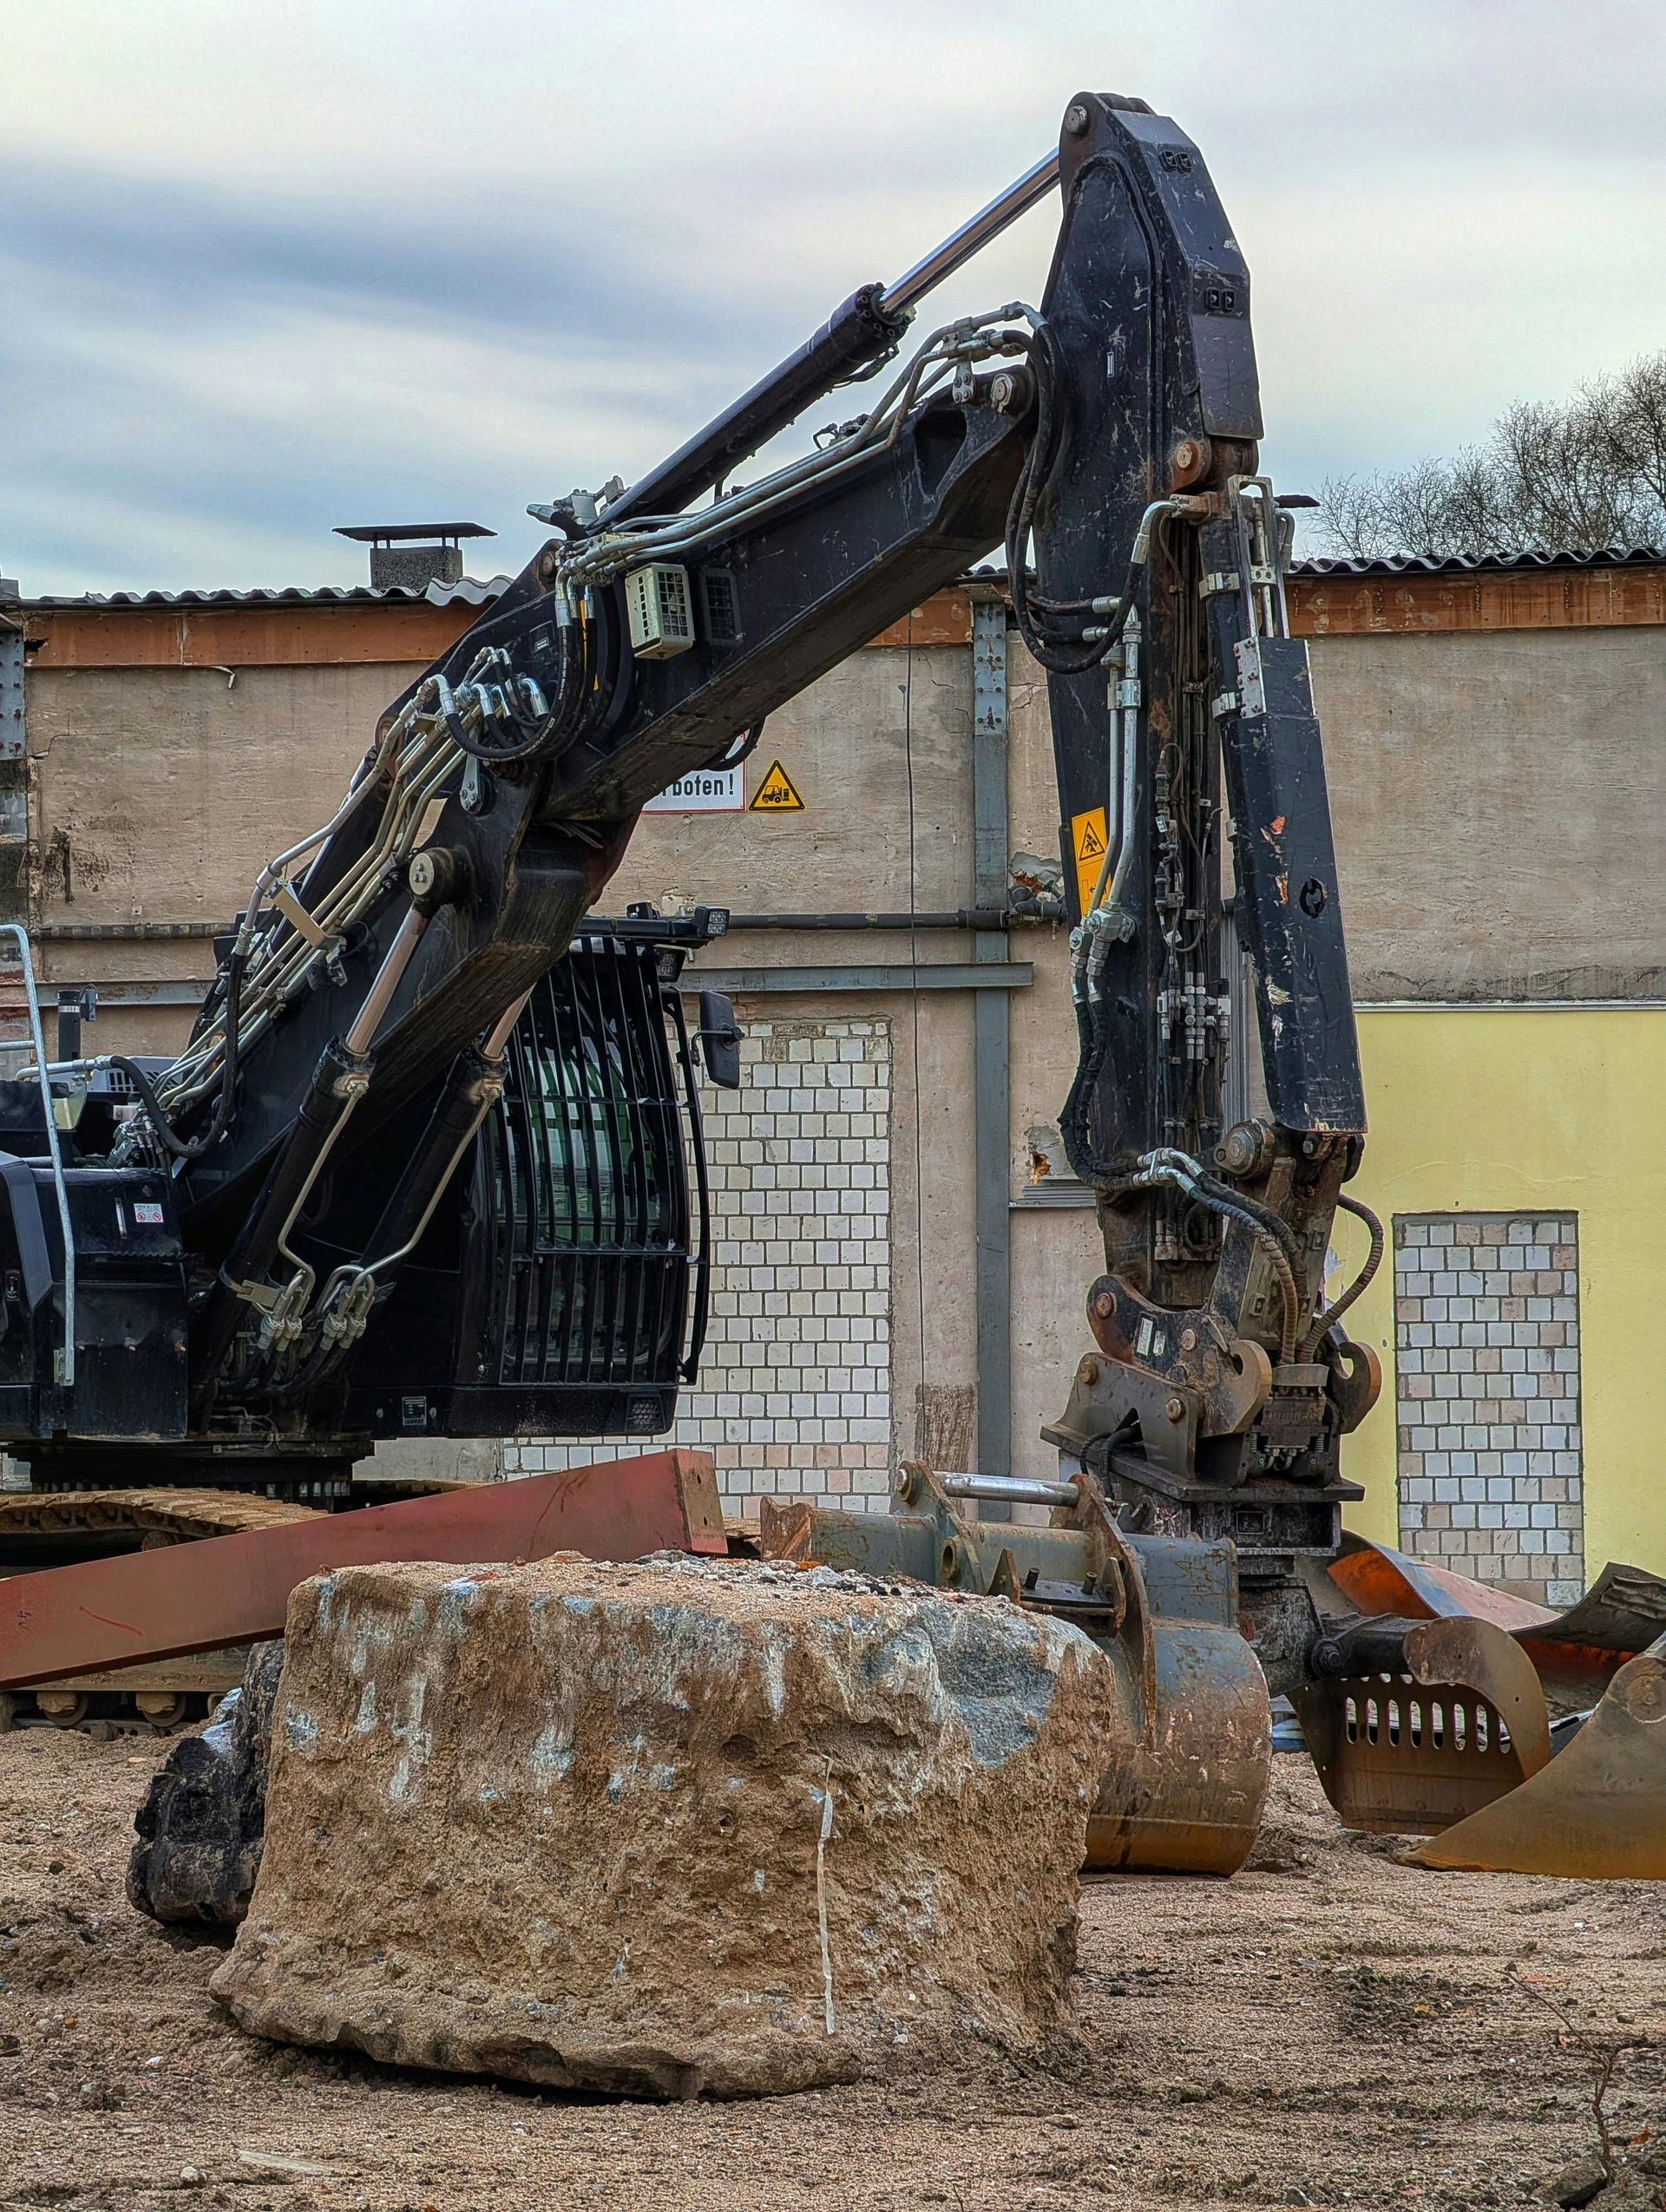
Depending on the size of the job, you might need a sledgehammer, jackhammer, or even larger machinery. Always be sure you're trained or familiar with any tools you use.
Step 4: Clean Up
Once the old concrete is broken away, clean the area thoroughly. Remove all debris, dust, and loose particles.
Surface Preparation Techniques
Once you've removed the old material, it's time to prepare the surface. Here are some surface preparation techniques you can choose from:
4 Common Surface Preparation Techniques:
Shot Blasting
This technique involves blasting the concrete surface with small steel balls at high velocity. It's effective for cleaning the surface and providing a textured profile suitable for new applications. Shot blasting as a surface preparation technique is widely employed in numerous sectors due to its efficiency and effectiveness.
Diamond Grinding
Here, rotating diamond-encrusted pads grind down the surface. This not only removes any imperfections but also leaves a smooth finish. Diamond grinding is a concrete pavement restoration technique that corrects irregularities such as faulting and roughness on concrete pavements. But beyond just pavement, it's also a preferred method for preparing surfaces in various industrial settings.
Acid Etching
This involves applying a mild acid solution to the surface, which reacts with the concrete to create a roughened texture. While effective, it can pose environmental and safety concerns. Acid etching is a commonly used surface preparation technique, especially for concrete substrates, before the application of coatings, overlays, or sealants.
Scrub and Clean
After any of these treatments, thoroughly clean the surface. You want a contaminant-free slate for your upgrades. The scrub and clean surface preparation technique is one of the most fundamental and often the initial step in many surface preparation processes, especially for surfaces that have accumulated dirt, grease, or other contaminants over time.
Checking for Moisture
One of the often-overlooked aspects of concrete preparation is checking for moisture. A moist surface can lead to bonding failures and other complications. There are moisture tests, like the calcium chloride test or the plastic sheet test, that can help gauge the moisture levels of a concrete slab.
Prime for Success
Finally, when every step has been done, your surface is ready for priming. Once your surface is clean, dry, and well-prepped, consider applying a concrete primer or bonding agent. This product can enhance the adhesion between the old surface and the new overlay or coating, ensuring a longer-lasting finish.
Conclusion
Demolition and renovation are more than just tearing down and building anew. The nuances of preparing concrete surfaces play a crucial role in ensuring that your upgrades and additions not only look good but also last for years to come. By taking the time to properly prep, you're investing in the longevity and quality of your renovation project. Always consult with a professional if you're unsure about any steps, and here's to a successful transformation!
First Step Demolition
Are you planning to revamp your space? If so, First Step Demolition is always psyched up to help you with every step to make your home aesthetically pleasing. Your dream renovation deserves a solid foundation. At First Step Demolition, we understand the art and science of preparing concrete surfaces, ensuring your upgrades stand the test of time. Don't risk the longevity and beauty of your next project. Choose us for expert demolition and surface preparation.
Contact us now
to make your renovation journey seamless from the very first step. Let's build tomorrow together!